Talking to the Formula AllCode robot using the Raspberry Pi
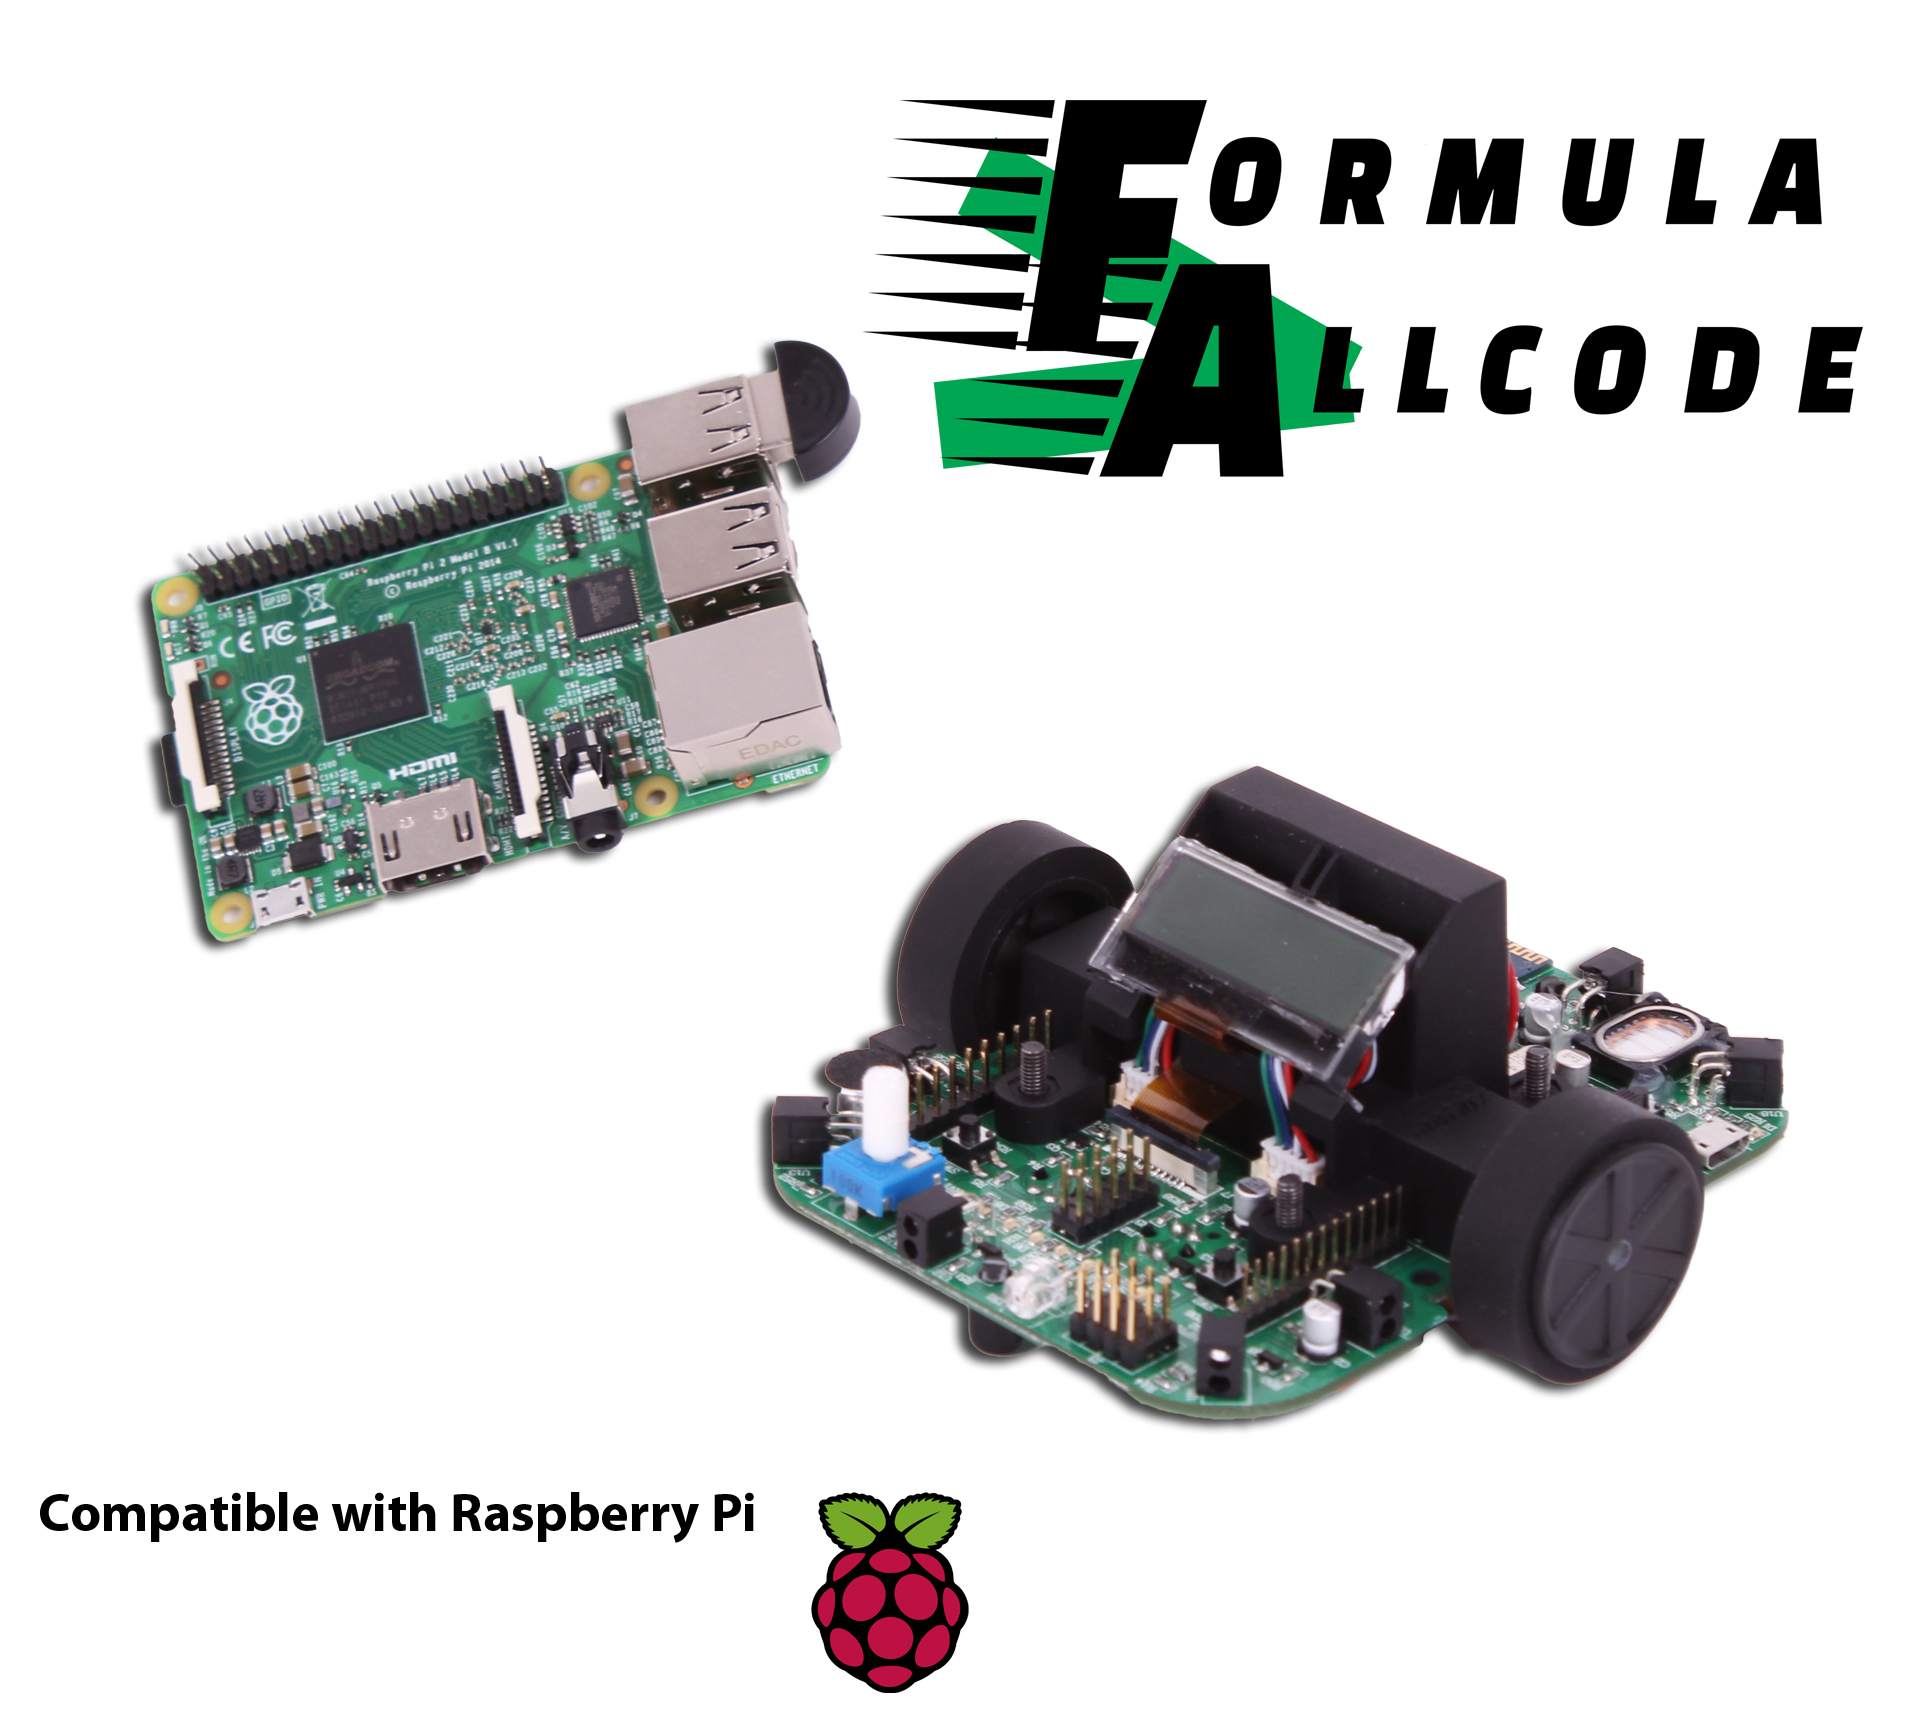
The Formula AllCode robotics course is great for makers to test their skills and capabilities or for introducing learners to programming and robotics in a fun and motivating way. The robot is compatible with hardware from Raspberry Pi to Android to iPhone, Windows PC’s, MAC and more.
This tutorial guides you through the process of setting up a Raspberry Pi with a USB Bluetooth dongle so it can communicate with AllCode. Once the set-up is complete, we’ll be able to send simple commands to toggle LED’s, receive information from sensors, just to show some of the functionalities of the Formula AllCode.
The Formula AllCode is currently a Kickstarter campaign. Back it today by clicking here.
Setting up Bluetooth Connection
We’ll assume you’re running Raspbian on your Pi and that your USB dongle it’s already plugged into one of the ports. Open the command line terminal and type in the following command:
lsusb
Check if your dongle is recognised (something like): Cambridge Silicon Radio, Ltd Bluetooth Dongle (HCI mode)
If your Pi sees the dongle, then update your operating system and install the Bluetooth support package.
sudo apt-get update
sudo apt-get install bluetooth bluez-utils blueman
Find the name of your Bluetooth dongle (“hci0” in our case):
hciconfig

Make sure that Formla AllCode is powered and scan for Bluetooth devices:
hcitool scan
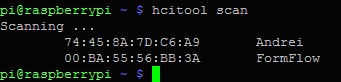
This will return the MAC address of the AllCode in the form of: xx:xx:xx:xx:xx:xx, in our case: 00:BA:55:56:BB:3A. Run the following command to pair with the robot:
sudo bluez-simple-agent hci# xx:xx:xx:xx:xx:xx
xx:xx:xx:xx:xx:xx is the MAC address of your robot (in our case: 00:BA:55:56:BB:3A) and hci0 where # is the number of your device. If you’re asked for pin number, enter 1234. Example command for us:
sudo bluez-simple-agent hci0 00:BA:55:56:BB:3A
The last step is to edit the configuration file rfcomm.conf, where a permanent connection will be established. Open the file:
sudo nano /etc/bluetooth/rfcomm.conf
Add the following lines at the end of the file (where xx:xx:xx:xx:xx:xx is the MAC address of your robot):
rfcomm1 {
bind yes;
device xx:xx:xx:xx:xx:xx;
channel 1;
comment “serial Bluetooth connection”;}
Save file and install pySerial library:
sudo apt-get install python-serial
Check if the settings are fine by trying to connect with the AllCode, type the following command:
sudo rfcomm connect 0 xx:xx:xx:xx:xx:xx:xx
xx:xx:xx:xx:xx:xx is the MAC address of your robot, in our case the command is: sudo rfcomm connect 0 00:BA:55:56:BB:3A and if they connect you should see:

For setting up the Bluetooth connection we followed the instructions on the link below, in case of any issues please visit the website:
http://blog.dawnrobotics.co.uk/2013/11/talking-to-a-bluetooth-serial-module-with-a-raspberry-pi/
How to program AllCode over Bluetooth:
Now we have configured our Bluetooth module, and our RPi and AllCode are talking, we can start to send commands. In this next section we will explain a few commands, and provide 3 example programs for you to try out yourself (download link Formula_AllCode_examples).
Formula AllCode is pre-programmed with a full API (Application Programming Interface) that listens to commands through Bluetooth which allows the user with any type of remote Bluetooth enabled device to control the sensors/ actuators of the robot.
Example 1:“Simple_LED_control.py” . A very simple and easy to understand script, Pi waits for a input from keyboard to light one of the LED’s at the front of the Formula AllCode. If the user presses a number from 0 – 7 then the corresponding LED is lighten up otherwise any other number pressed turns all LED’s OFF. A simple command of three bytes 0, 1, X (X is the number from 0 – 7 representing the LED’s) turns the corresponding LED’s ON and command 0,0,0 turns all LED’s OFF.
Example 2:“Read_proximity_loop.py” . AllCode has 8 proximity sensor placed around the robot so it can check for objects in any direction. Same as the LED script, this one waits for input from user (a number from 0 – 7), sends the command to the AllCode for the corresponding sensor, AllCode reads the sensor and replies with the value to the Pi, this process will be done constantly every quarter of a second. Again a three byte command 0, 6, X is sent (X is the number from 0 – 7 representing the proximity sensors) and AllCode knows that it needs to reply with the value of the sensor.
Example 3: “Toy_car” . The Pi sends commands to drive the motors of AllCode depending on key pressed by user. The _Getch and _GetchUnix classes are implemented in the script so the user doesn’t have to press Enter in order to input a character, making it easier to control the AllCode as you would control a toy car remotely or in a game. If the user presses ‘w’ then AllCode goes forward, ‘a’ it spins left, ‘s’ it goes backwards, ‘d’ it spins right, ‘q’ exists the script and any other character just stops the robot (or sets motors speed to 0) but doesn’t exit the script. The commands sent to the robot are of 6 bytes 0,6, direction_left_motor, power_left_motor, direction_right_motor, power_right_motor. Direction byte is 0 for forward, 255 for backwards and power is in the range 0 to 99. For example if the user presses ‘w’ then the Pi will send: 0,6,0,95,0,95 (using power of 95).
Except listening for direct commands, AllCode can be re-programmed over Bluetooth to become autonomously, being able to do some amazing projects, like line-following, maze solving, etc. The firmware can be re-programmed via about anything including Flowcode, LabVIEW, MATLAB, Python and AppBuilder.
The Formula AllCode is currently a Kickstarter campaign from Matrix TSL. Back it today by clicking here.
17,954 total views, 1 views today


