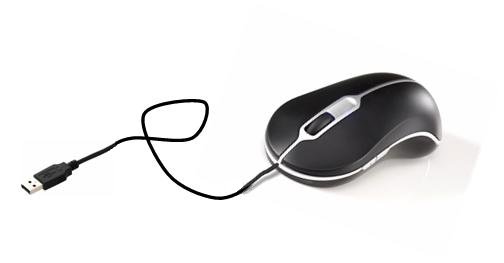
Rapid Prototyping – Custom USB Mouse
Using Flowcode it is possible to create a wide range of electronics devices in a short space of time.
A good example of this is a USB mouse in that it is very simple to achieve but also has a wide range of uses. Here is a list of a few uses I could think of:
- Creating your own USB mouse
- Creating your own USB graphics tablet using a restive or capacitive panel
- Creating your own USB Etch-A-Sketch using encoders or potentiometers
- Automated clicking on a button at a certain time of the day or after a certain delay
- Automated mouse entry to do specific repetitive jobs
- Mouse controlled via Wifi / Bluetooth / Ethernet connection
- April fools joke “ghostly mouse”
Of course you don’t just have to make a mouse, a custom USB joypad would have just as many uses, however so we don’t get sidetracked we will remain on the subject of the mouse for now.
Microcontroller Hardware
First lets look at the hardware we will be using. The ECIO40P is a PIC18F based device which has a low cost and features USB connectivity out of the box with zero setup. This means that it is very straightforward to create your firmware. Also programs designed for this will work just as well on the ECIO28P or the new more powerful dsPIC33EP based ECIO40P16. You can also use any PIC or dsPIC chip with hardware USB support but the initial setup may be a little more tricky as you have to get the oscillator speed and configuration settings right for your specific chip and hardware.

We also use E-blocks in the examples as they are again ideal for plug and play or rapid prototype functionality. However you can always refer to the E-block datasheet which provides the schematic allowing you to replicate the circuitry using electronics you have to hand.
Flowcode USB HID Component
The USB HID component has a number of properties that we must first setup correctly.
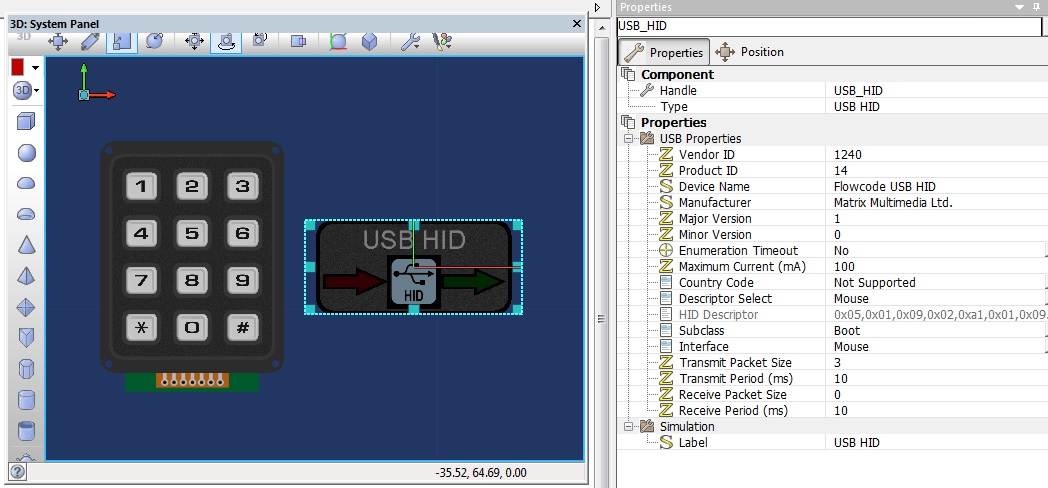
The product and vendor ID are your USB identifiers and should be unique for every USB device you create. If you are making a device for personal use then you can use our vendor ID of 12BF and a product ID of your choosing. Take care not to use our product IDs or your EB006 or ECIO may suddenly stop working. If you are making a commercial product to sell then you will need to purchase your own ID from the USB.org.
The descriptor select property allows you to pick from the pre-done Mouse and Keyboard descriptor or allows you to add your own HID descriptor for say your custom USB joypad. There is a descriptor tool available from USB.org to help designing your own HID descriptor.
The transmit and receive packets sizes are linked to the descriptor so for example our standard Mouse descriptor sends three bytes and receives no bytes.
Both of the examples below are quite similar in the terms that we initialise the USB component, do a bit of simple I/O and then use this to determine the values we send to the PC via USB.
Rapid Prototype 1 – Keypad based USB mouse
Parts list: ECIO40P, EB061 ECIO Applications Board, EB014 Keypad
Flowcode program: USB Mouse Example
Here is a diagram of the mouse functions based on the keypad button being pressed.
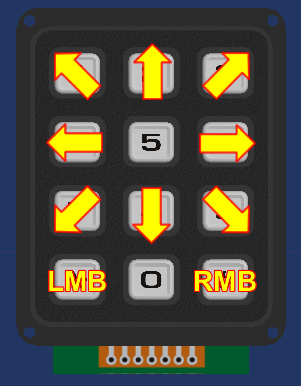
The speed of the mouse is based on the variable Speed which is assigned as 10 near the start of the program. This may be a bit fast for some users so you could try changing the speed to 1 or 2 for a more controllable mouse cursor. This could be further improved by resetting the speed to 0 when no keypad buttons are pressed and slowly increasing the speed when a button is pressed.
The keypad can only accept one button press at a time due to the restrictions of the keypad circuitry, however using individual switches you would be able to press multiple buttons at the same time.

Rapid Prototype 2 – Encoder based Etch-A-Sketch style USB mouse
Ever wanted to be able to draw on your PC like you did on your old Etch-A-Sketch? No I didn’t think so, however there are times where a pixel perfect controlled mouse can be very useful.
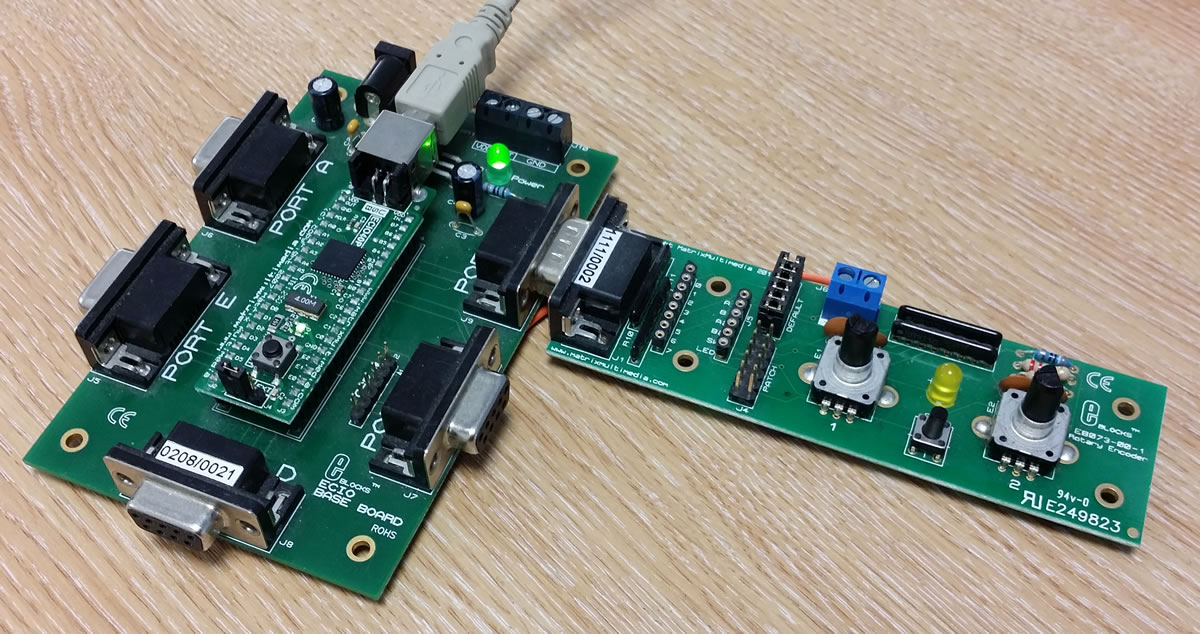
Parts list: ECIO40P, EB061 ECIO Applications Board, EB073 Rotary Encoder
Flowcode program: USB Encoder Example
Encoder 1 controls the mouse X position, rotating clockwise moves the cursor to the right and anti-clockwise moves the cursor to the left. Encoder 2 controls the mouse Y position, rotating clockwise moves the cursor down while anti-clockwise moves the cursor up. Switch SW1 on the encoder board can be used as the left mouse button enabling you to easily use the hardware with drawing packages etc.
Click the switch once and the LED on the Encoders board will light informing you that the left mouse button is now being held down. Click the switch again to release the left mouse button and switch off the LED.
7,183 total views, 1 views today
Related Posts


About The Author
BenR
Embedded engineer with experience in Cybernetics (HMI), Robotics, Mechatronics, Control Systems and Communications using Microcontrollers and Microprocessors.