Exercise - System Panel - Controlling Collisions
<sidebar>Sidebar: Panel Exercises</sidebar>
This exercise looks at ways in which two objects interact on the System Panel.
It does not design a flowchart, but looks at configuring the collision control icon found on the System Panel.
The images below are intended to illustrate the differences between the collision settings, but screen shots are limited in what they can convey when motion is involved.
This is really a hands-on exercise - you have to see and feel the difference!
Contents
Set up the Flowcode flowchart
- Create a new flowchart, accepting the default microprocessor.
- Make sure that the System Panel is visible, using the View menu if necessary.
- Click on the 'General options' icon to configure the System Panel.

- Select suitably contrasting colors for the 'Table top', (e.g. light blue - red=160, green=192, blue=255,) and 'Background', (e.g. mid-blue - red=0, green=0, blue=192.)
- Select three views in the 'Number of views:' options.
- Click on the red, green and blue arrowheads in turn, to produce the views shown below.
- Uncheck all 'Snap to' options.
Start position
- Drag and drop a cube onto the System Panel.
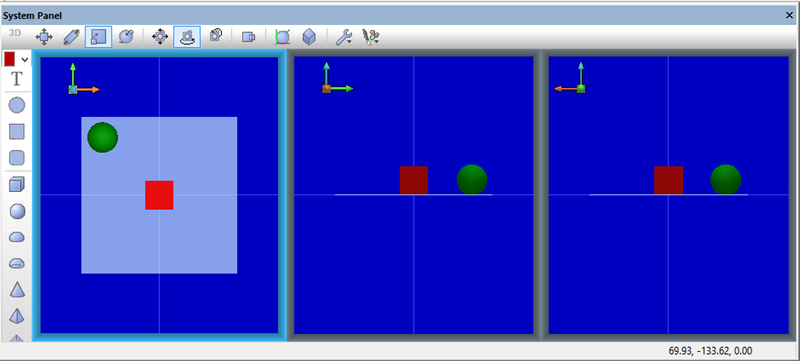
- Give it 'Coordinates' X=0, Y=0, Z=16 to make it sit on the 'Table top'.
- Leave it as the default color it - red (red=192, green=0, blue=0).
- Drag and drop a sphere onto the System Panel.
- Give it 'Coordinates' X=-60, Y=60, Z=16 to make it sit on the 'Table top' at the top left corner.
- Color it green (e.g. red=0, green=192, blue=0).
- Look at all three views. Make sure that you understand what each shows.
Collision type - Move through
- Click on the 'Collision Control' icon, and select 'Move through'.
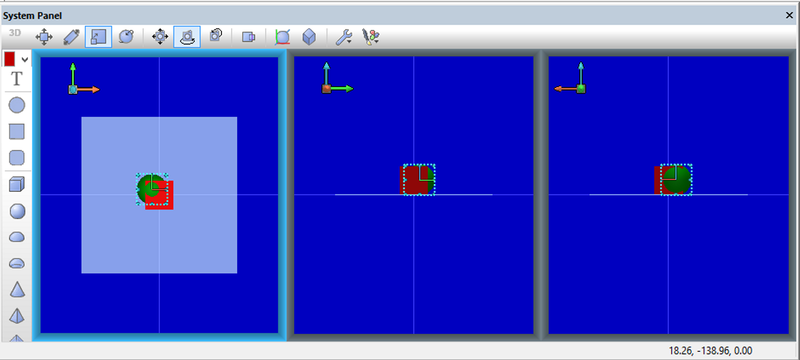
- Move the sphere towards the cube, and make the two overlap.
- The two objects coalesce when they meet.
- Move the sphere back to its start position.
- The objects re-emerge as separate items.
- This setup would be useful when an object is allowed to enter a marked zone.
Collision type - Move over
- Click on the 'Collision Control' icon, and select 'Move over'.
- Once again, move the sphere towards the cube so that they collide.
- Notice the difference - this time the sphere jumps over the cube.
- This is where the three views are really useful.
- Look at each, and make sure that you understand exactly what is happening.
- Move the sphere back to its start position.
Collision type - Move around
- Click on the 'Collision Control' icon, and select 'Move around'.
- Again, move the sphere towards the cube so that they collide.
- Notice the difference!
- Again, use the three views to see exactly what is happening.
In the last two cases, the objects retained their separate identities during the collision, but had different degrees of freedom.
Download the exercise
You can download the file created by this exercise and open it in Flowcode to identify errors in your program/file or you could also download the file to skip to the next exercise.
- To download the file, click on the link below and then either:
- Click on the file name.
- Right click the file name and select 'Save link as...' or 'Save target as...' (depending on your browser).


